A walkthrough of setup and the features you'll actually use day to day. Everything below happens in the desktop app — nothing here needs an account except downloading it in the first place.
Download the installer for your platform from your downloads page. On Windows it installs like a normal program, with a Start-menu entry and desktop shortcut. On Mac, drag LayerMate.app from the mounted .dmg into your Applications folder. On Linux, it's a single .AppImage — no install step, just make it executable and run it. No terminal required either way, except optionally on Linux.
Because this is independently developed software and the installer is not currently digitally signed, Windows or your browser may display a security warning when you download or launch it. These warnings can occur because the application is independently published and doesn't yet have an established reputation with Windows.
chmod +x LayerMate-*.AppImage in a terminal, or right-click the file → Properties → Permissions → check "Allow executing file as program" — then double-click it. On Ubuntu 22.04+/Debian 12+, if it complains about FUSE, install libfuse2 first.
On first launch, pick the folder (or folders) that hold your 3D models. You can add more anytime from File → Add folder to library — LayerMate crawls every subfolder automatically, so pointing it at one top-level "3D Prints" folder is usually enough.
A progress bar shows count, percentage, and an ETA while it indexes. Files are parsed in an isolated background process, so a single corrupt or oversized model gets skipped and logged instead of stopping the whole scan.
Every file gets a real thumbnail — either pulled from the file itself (3MF/G-code) or rendered locally when there isn't one. Use the search bar, the file-type chips, or the Creators tab in the sidebar to slice a large library down fast.
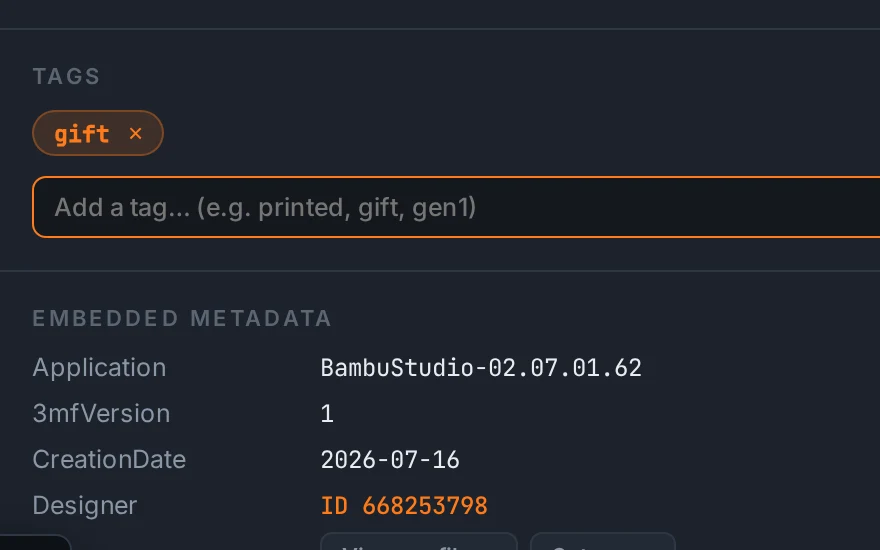
Open any file's details and add tags — gift, gen1, needs supports, whatever's useful. Click a tag anywhere to instantly filter the whole library down to it.
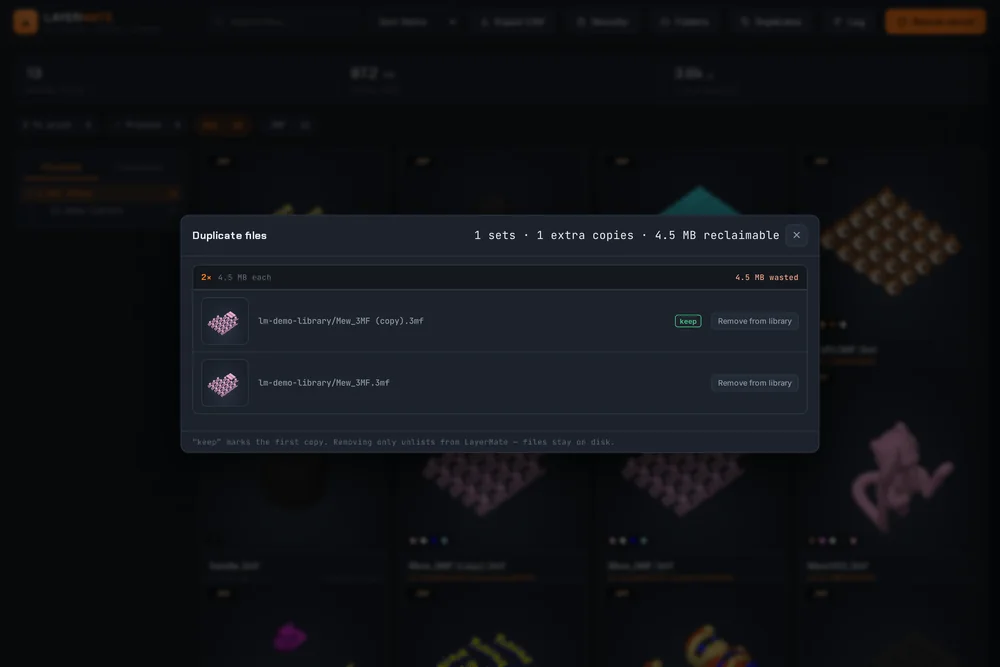
Click Duplicates in the toolbar to find files with identical contents, regardless of filename. Each group marks a "keep" copy — remove the extras with one click, or open either file's location first to double-check.
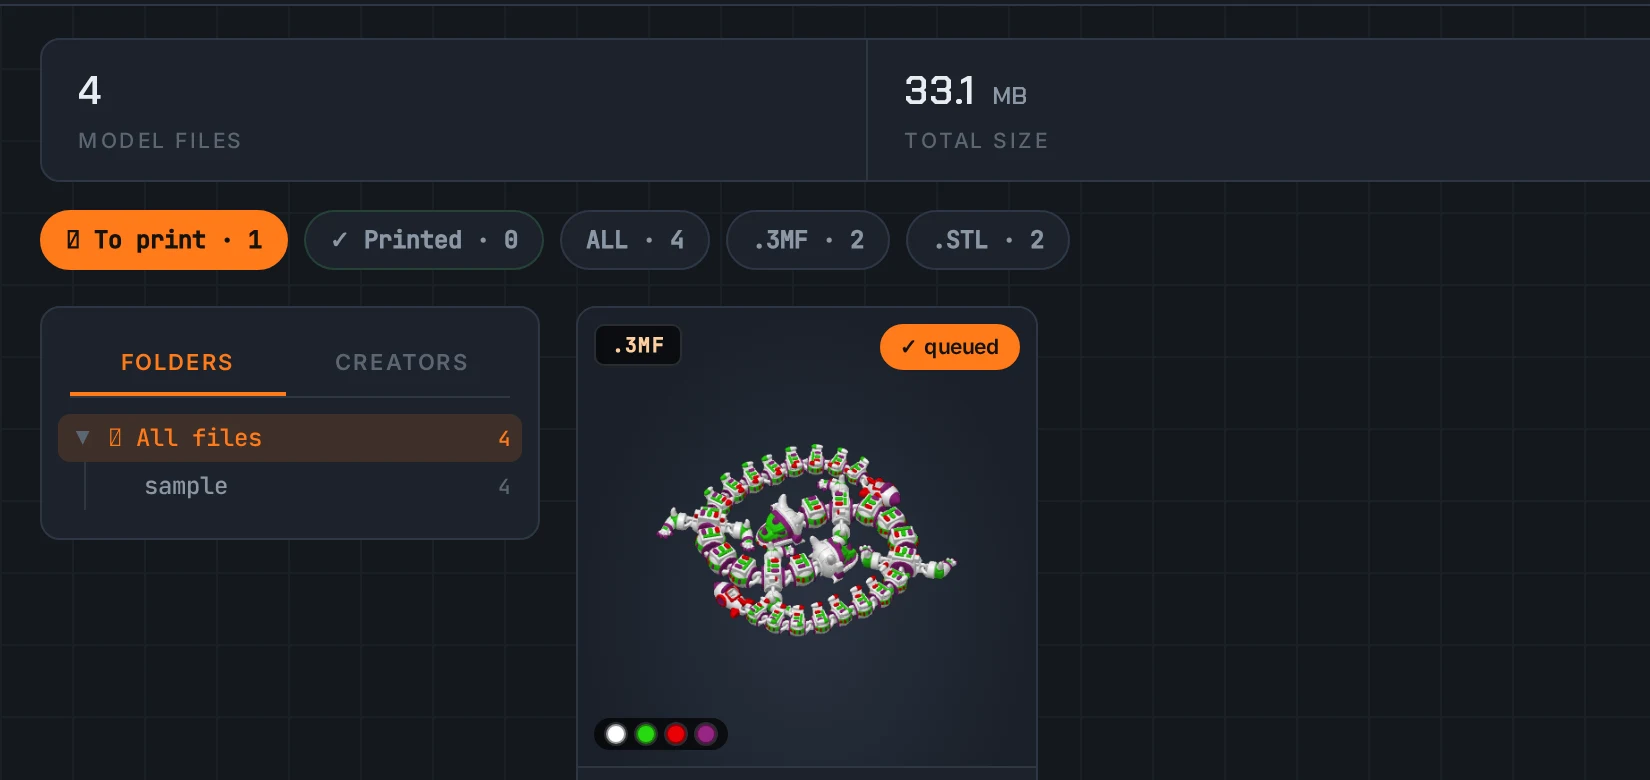
Right-click a model (or open it) to add it to your print queue, and mark it printed once it's done. Two chips at the top — To print and Printed — filter to each list, and both are included in the CSV export.
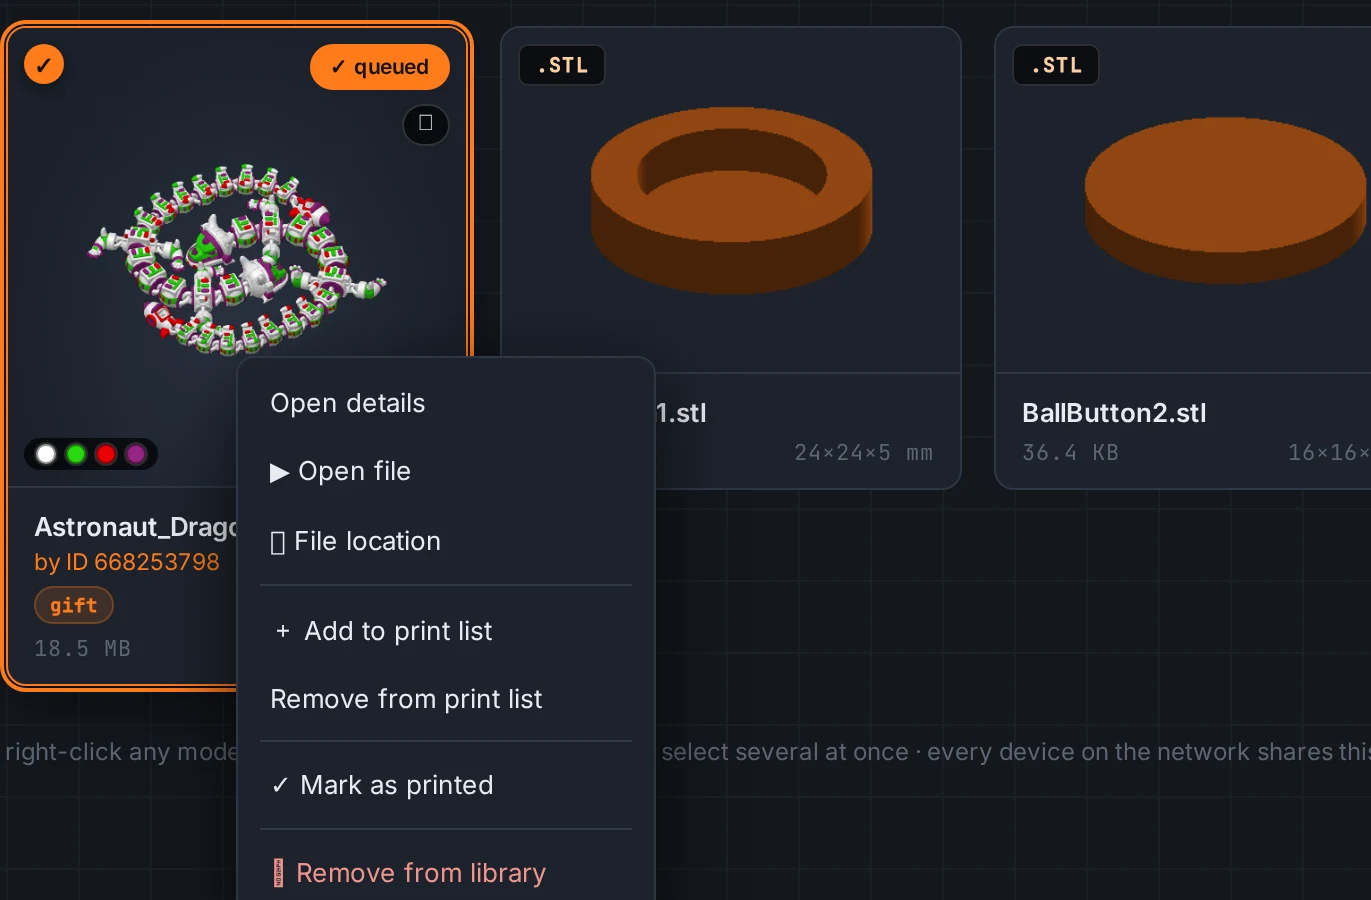
Double-click a card to open the file with whatever app your OS has associated with it — same as double-clicking it in Explorer. Right-click for "File location" instead, which reveals it without opening anything.
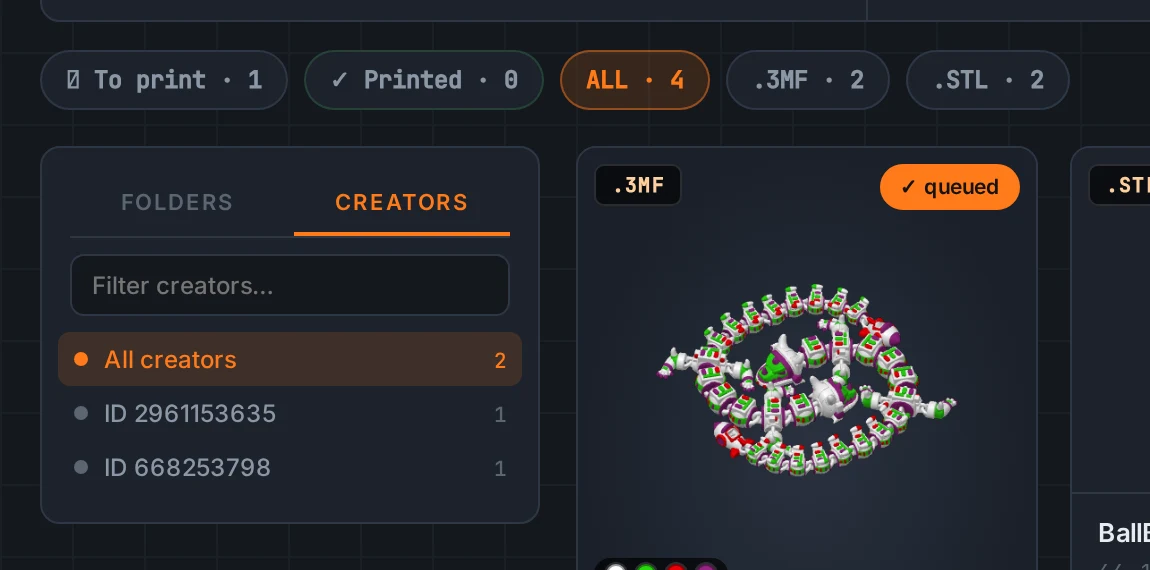
The sidebar's Creators tab groups your whole library by designer, pulled automatically from each file's metadata where available — click one to see just their work.
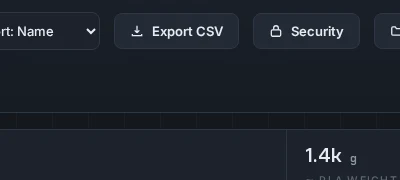
Export the whole library — names, paths, sizes, dimensions, tags, print status, and more — to a CSV whenever you want a spreadsheet copy or a backup of your organisation.
LayerMate quietly serves your library to the rest of your local network while it's running — File → Copy network address gives you a link like http://192.168.1.42:3111 that any other PC or phone can open in a browser to browse the same library and download files.
By default, anyone on your network who has that link can get in. To lock it down, click Security in the toolbar, turn on a password, and set one — other devices will need to log in, while the machine running LayerMate always keeps full access with no password.
The installed app checks quietly for updates shortly after launch and periodically while it's open — if one's found, it downloads in the background and asks whether to restart and install once it's ready. You can also trigger a check manually from Help → Check for updates. Every future release is included in your original purchase at no extra cost. To receive updates, enter your licence key under Settings → License — it's emailed to you on purchase, and you can view or resend it anytime from your account dashboard.